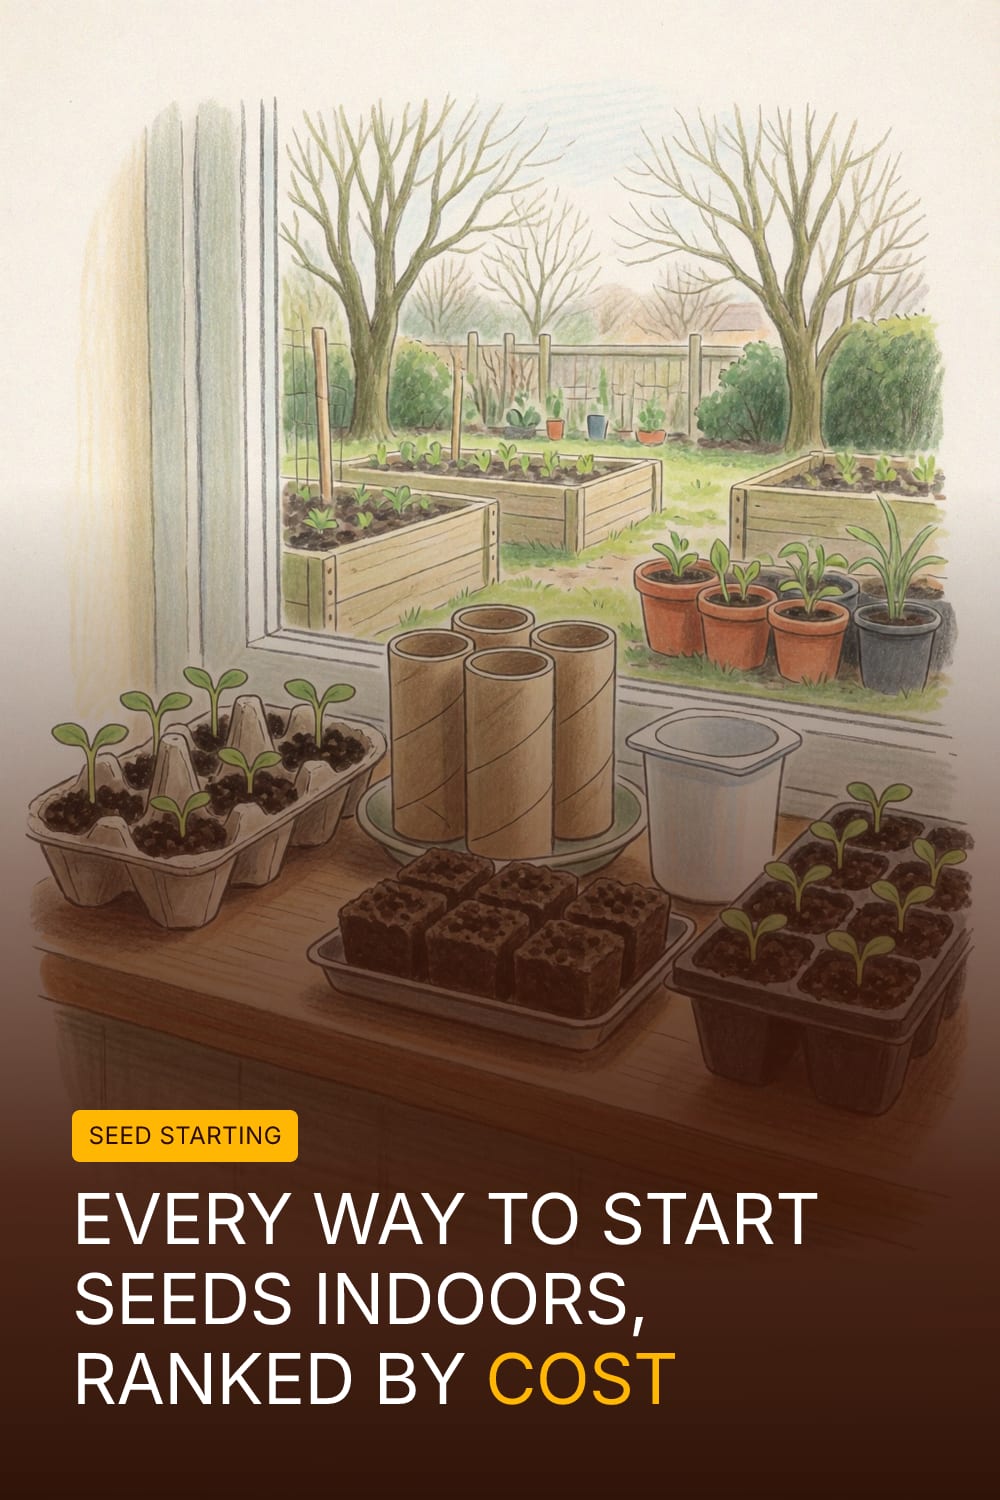
Every Way to Start Seeds Indoors, Ranked by Cost
The seed-starting aisle shows up in garden centres around now, all domes and heat mats and little kits with a picture of a perfect tomato on the front, and it’s easy to come away thinking that growing your own transplants starts with a shopping trip. It doesn’t have to. Most of what a seed needs to germinate is already in your recycling bin.
So before you buy anything for January and February, I’ve put every container I know of for starting seeds indoors in order, from cheapest to dearest. The ranking is by what each one costs over three or four seasons, which is the fair way to compare a free yogurt pot with a tool you buy once and a pellet you buy every spring. There are no prices because they move around too much to be worth printing, but the order holds.
One thing first. Every method below needs the same seed-starting mix, and the mix is a cost you pay every year whichever container you pick. Nothing on this list gets you out of it.
The ranking
| Rank | Method | What it costs you | Best for | Worst at |
|---|---|---|---|---|
| 1 | Yogurt pots and takeout tubs | Nothing, lasts years | Potting on tomatoes and peppers | Fitting neatly on a tray |
| 2 | Toilet-roll tubes | Nothing, single use | Deep-rooted peas, beans, sweet peas | Staying moist |
| 3 | Egg cartons (cardboard) | Nothing, single use | Germinating lots of small seed | Holding more than a week or two of growth |
| 4 | Newspaper pots | Nothing but time, single use | Crops that hate root disturbance | Surviving overwatering |
| 5 | Saved nursery cell packs | Nothing, a season or two | Lettuce, brassicas, herbs | Lasting |
| 6 | Sturdy plastic cell trays | Small, once, then years | Uniform rows under a light | Being free |
| 7 | Soil blocker | One tool up front, then mix only | Strong root systems, no pots | Forgiving a dry day |
| 8 | Peat pots, coir pots and pellets | Small, but every single year | Convenience | Roots getting through the walls |
The free four
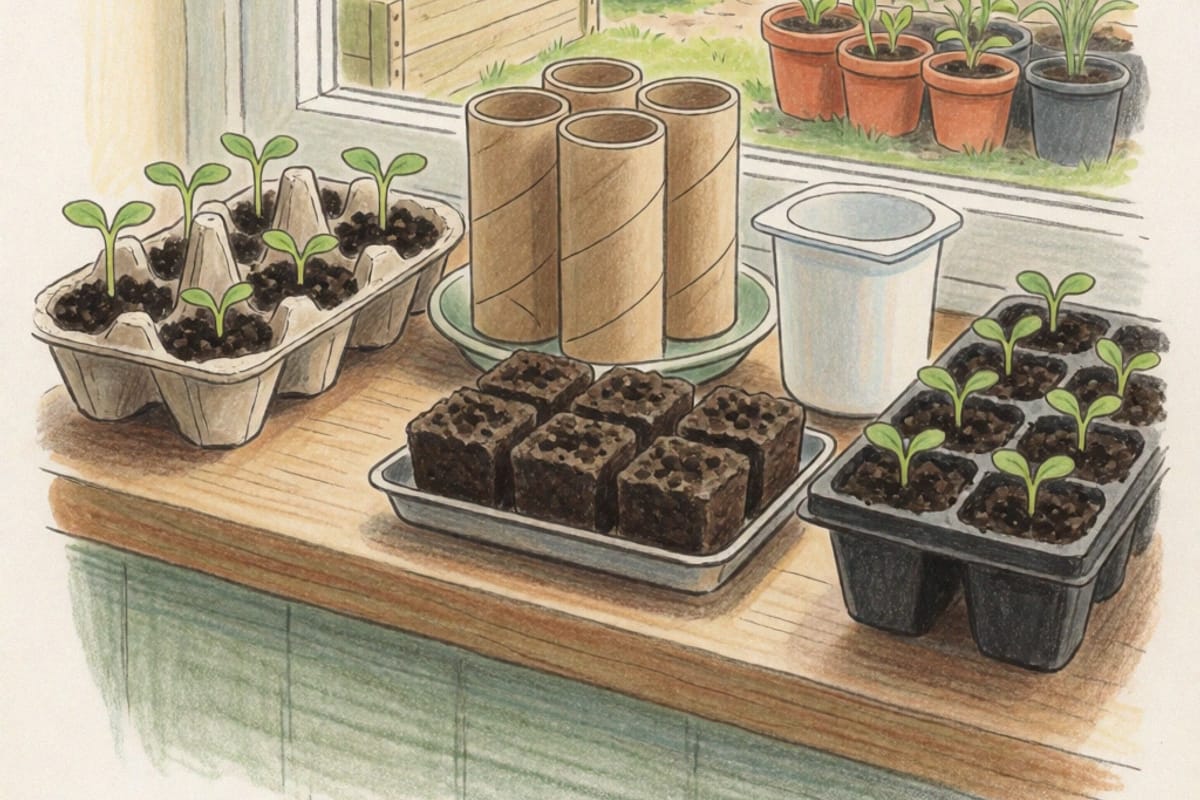
Yogurt pots and the plastic tubs from takeout food are the best free option, and I’d put them first even if they weren’t free. They’re deep, they’re waterproof, and a pot washed out in March is still a pot five years later. Melt or drill a few drainage holes in the bottom. Their weakness is that they’re all different sizes, which makes them awkward to water from below and awkward to pack under a light. I use them for potting on, when a tomato seedling has outgrown its first cell and needs somewhere deeper for a few weeks.
Toilet-roll tubes are deep and narrow, which is the shape peas, beans and sweet peas want. Stand them upright, packed tight in a tray so they hold each other up, and fill them. The trouble is that cardboard wicks. The walls pull water out of the mix and let it evaporate, so they dry out fast, and the outside can grow a harmless but alarming bloom of mould if the tray stays wet. Plant the whole thing out, but tear the cardboard down so none of it sticks up above the soil, where it will draw moisture away from the roots.
Cardboard egg cartons have the same wicking problem and much less soil, so they can dry out within a day on a warm windowsill. They’re fine for getting a lot of small seed to germinate in very little space, as long as you move the seedlings on quickly. Leave them too long and the roots grow into the cardboard and into each other, and separating them tears things.
Newspaper pots cost you only the time it takes to roll them around a jar or a small can. They go in the ground whole, which is a real advantage for crops that sulk when their roots are disturbed, like squash and cucumbers. Use plain newsprint rather than glossy inserts, and don’t let them sit in water, because a soggy newspaper pot falls apart on the way to the bed.
The cheap ones that last
Most people have a stack of the thin black cell packs that bedding plants come in, and they’re worth keeping. They work well for lettuce, cabbage-family crops and herbs. They also crack after a season or two of being bent and washed, so treat them as a bonus rather than a system.
If you’re going to spend money on containers at all, sturdy plastic cell trays are where I’d put it. Buy the thick ones. A heavy tray with a solid base tray underneath will last many seasons, it fits squarely under a light, and you can water the whole thing from below by filling the base. Spread across the years you use them, they cost very little. The thin ones sold in kits are cheaper on the day and often split by the second spring, which makes them the dearer choice in the end.
The tool you buy once
A soil blocker presses wet mix into free-standing cubes with a dimple in the top for the seed. No pot at all. Roots reach the edge of the block, meet air, and stop, so the seedling builds a dense root ball instead of circling, and there’s nothing to unpot at planting time.
It has a learning curve. The mix has to be wetter and denser than ordinary seed compost or the blocks crumble, and the blocks dry out quickly because air reaches them on every side. Miss a day of watering in a warm room and you’ll know about it. Blocks also use more mix than small cells do, so the yearly compost bill creeps up a little. I like mine, but I wouldn’t tell a first-year grower to start there.
The one that keeps costing
Peat pots, coir pots and compressed pellets are the most convenient thing on the list and, over a few years, the most expensive container option, because you buy them again every spring. They also have a habit I don’t like: if the walls dry out, roots can stall at the edge instead of growing through, and the plant ends up stuck inside its pot in the ground. If you use them, tear the walls or cut the pellet netting before planting, and bury the rim completely.
Windowsill or light
The real money in seed starting goes here, and it dwarfs everything above. A sunny windowsill is free and does a fair job for cool-weather crops started in late winter. Tomatoes and peppers on the same sill tend to stretch toward the glass, for reasons covered in why seedlings get leggy.
A plain shop light hung close above the seedlings is the next step up, and it sorts out most of that stretching. Most people don’t need a dedicated grow light at all, and the distance matters more than the fixture. A heat mat speeds up germination of warmth-lovers like peppers, but you can manage without one by keeping trays somewhere warm until the seeds come up.
If the reason you’re starting seeds at all is the grocery bill, it’s worth knowing whether it’s working. The seasonal savings tracking in Garden Planner Pro tracks what you harvest and what it saved you over the season, so by the end of next summer you can see whether the setup paid for itself.
My own shelf, for what it’s worth, is a mix: heavy cell trays for most things, toilet-roll tubes for the peas, yogurt pots for potting on, and one shop light on a chain. None of it matches. The seedlings have never once minded.