
How to Start Seeds Indoors Without Growing Leggy Seedlings
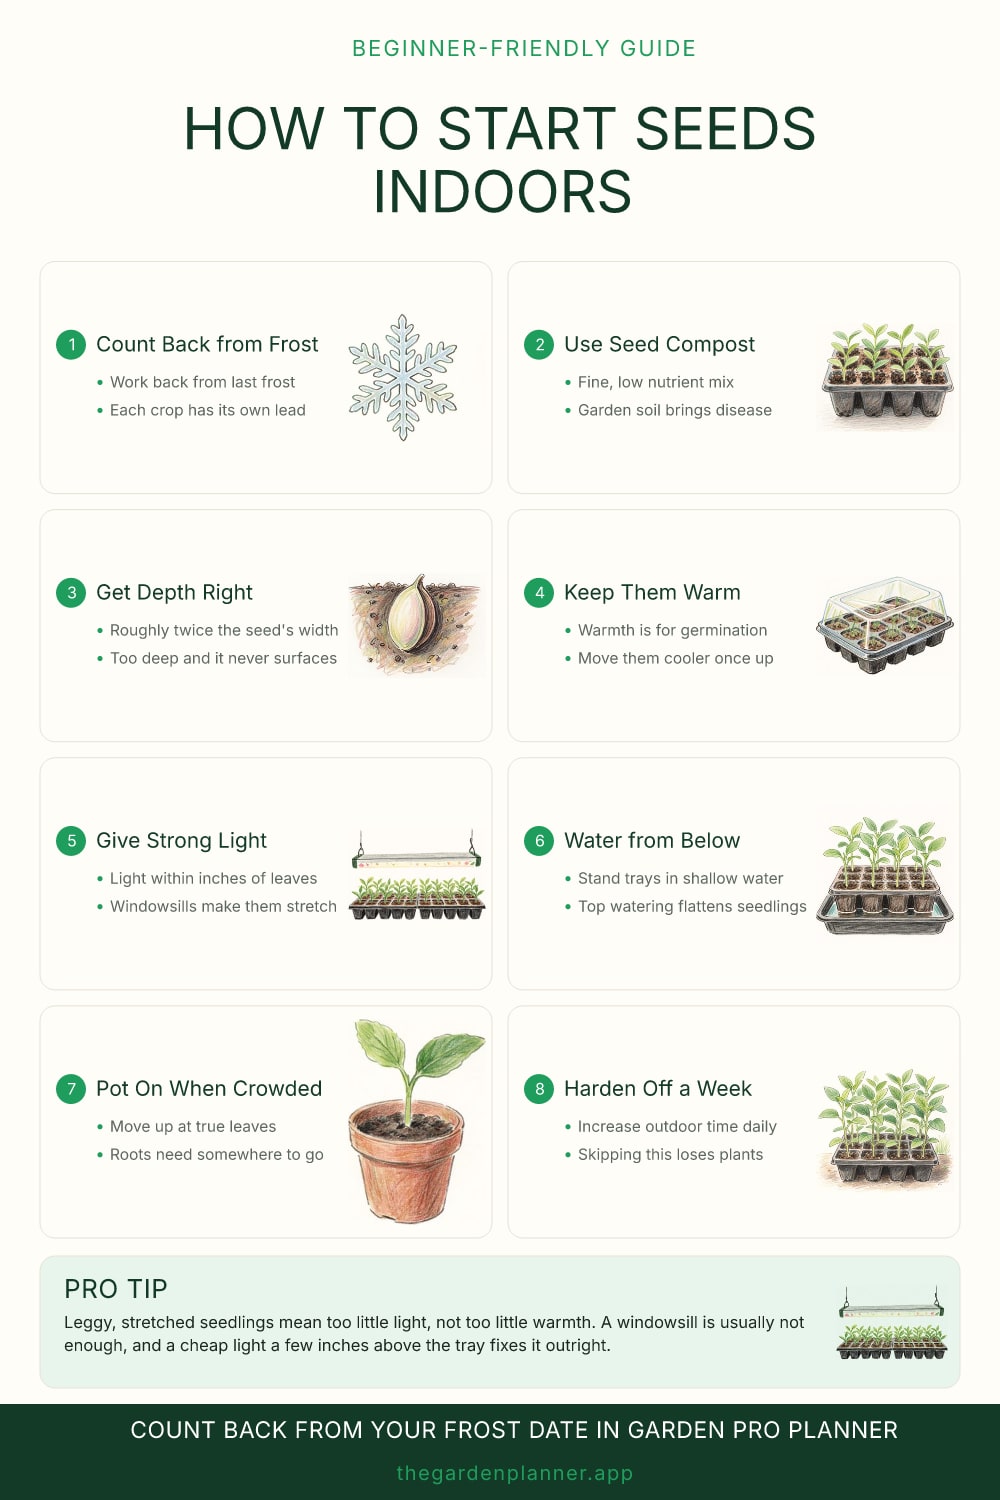
Starting seeds indoors buys you weeks of growing season, and it is where a surprising amount of the year’s work goes wrong. The seeds themselves are rarely the problem. Germination is the easy part.
What catches people is everything after germination, and above all the gap between how bright a windowsill feels and how bright it actually is.
Sowing dates are counted backward, not forward
Almost every seed packet gives its timing relative to your last frost date rather than a calendar month, because the same crop is sown weeks apart in different places. So the first job is to find your local last frost date, then count backward by the lead time the crop wants.
The temptation is always to sow earlier than that. It feels productive in February and it usually backfires, because an early sowing needs more light than the season can supply and you end up with a tall, weak plant sitting in its pot waiting for the weather. A plant sown at the right time in better light routinely overtakes one sown a month early. Write the sowing date on the label along with the variety, because by April nobody remembers which tray went in when.
Warmth germinates, light grows
These are two separate jobs and they want two separate places, which is the single most useful thing to understand about raising seedlings indoors.
Heat is what triggers germination, so an airing cupboard, a heat mat or the top of a fridge is ideal for that stage. But the moment the first seedlings break the surface, they need light immediately and they no longer need much warmth. Leaving a tray in a warm dark spot for even two days after emergence produces pale, stretched, floppy seedlings that never fully recover.
So check germinating trays daily and move them the moment anything shows. The new spot should be the brightest you have and can happily be cooler. Cool and bright produces short, sturdy, dark green plants; warm and dim produces the opposite every time.
Compost, depth and watering from below
Use a fine, low nutrient seed compost rather than garden soil or rich potting compost. Seeds carry their own food supply for the first stage, and a rich mix encourages soft growth and fungal problems. Garden soil brings weed seed and disease into a tray of vulnerable seedlings.
Sowing depth is roughly twice the width of the seed, which for many small seeds means barely covering them at all. Too deep is a much more common error than too shallow, and a seed that exhausts itself before reaching the surface simply never appears, leaving you to blame the seed.
Water trays by standing them in a shallow tray of water and letting the compost draw it up, then lift them out once the surface darkens. Watering from above dislodges small seeds, flattens seedlings and keeps the surface wet, which is what encourages the fungal collapse that kills a whole tray overnight.
Pot on, then harden off
Once seedlings have their first true leaves, the ones that look like miniature versions of the adult plant rather than the simple seed leaves, they are ready to be moved into individual pots. Handle them by a leaf and never by the stem. A crushed stem is fatal and a torn leaf is not.
The last stage is the one most often rushed and it wastes more work than any other. A plant raised indoors has soft tissue, no protective pigment against ultraviolet and a stem that has never felt wind. Moving it straight outside can flatten it in an afternoon. Give it a week or two of increasing outdoor exposure, starting with an hour in the shade, before planting out. It is a dull job with no visible reward, and skipping it is how eight weeks of careful work disappears in a weekend.
Pro tip. Leggy, stretched seedlings mean too little light, not too little warmth. A windowsill is usually not enough, and a cheap light a few inches above the tray fixes it outright.