
How to Make Leaf Mold: A Beginner's Guide in 8 Steps
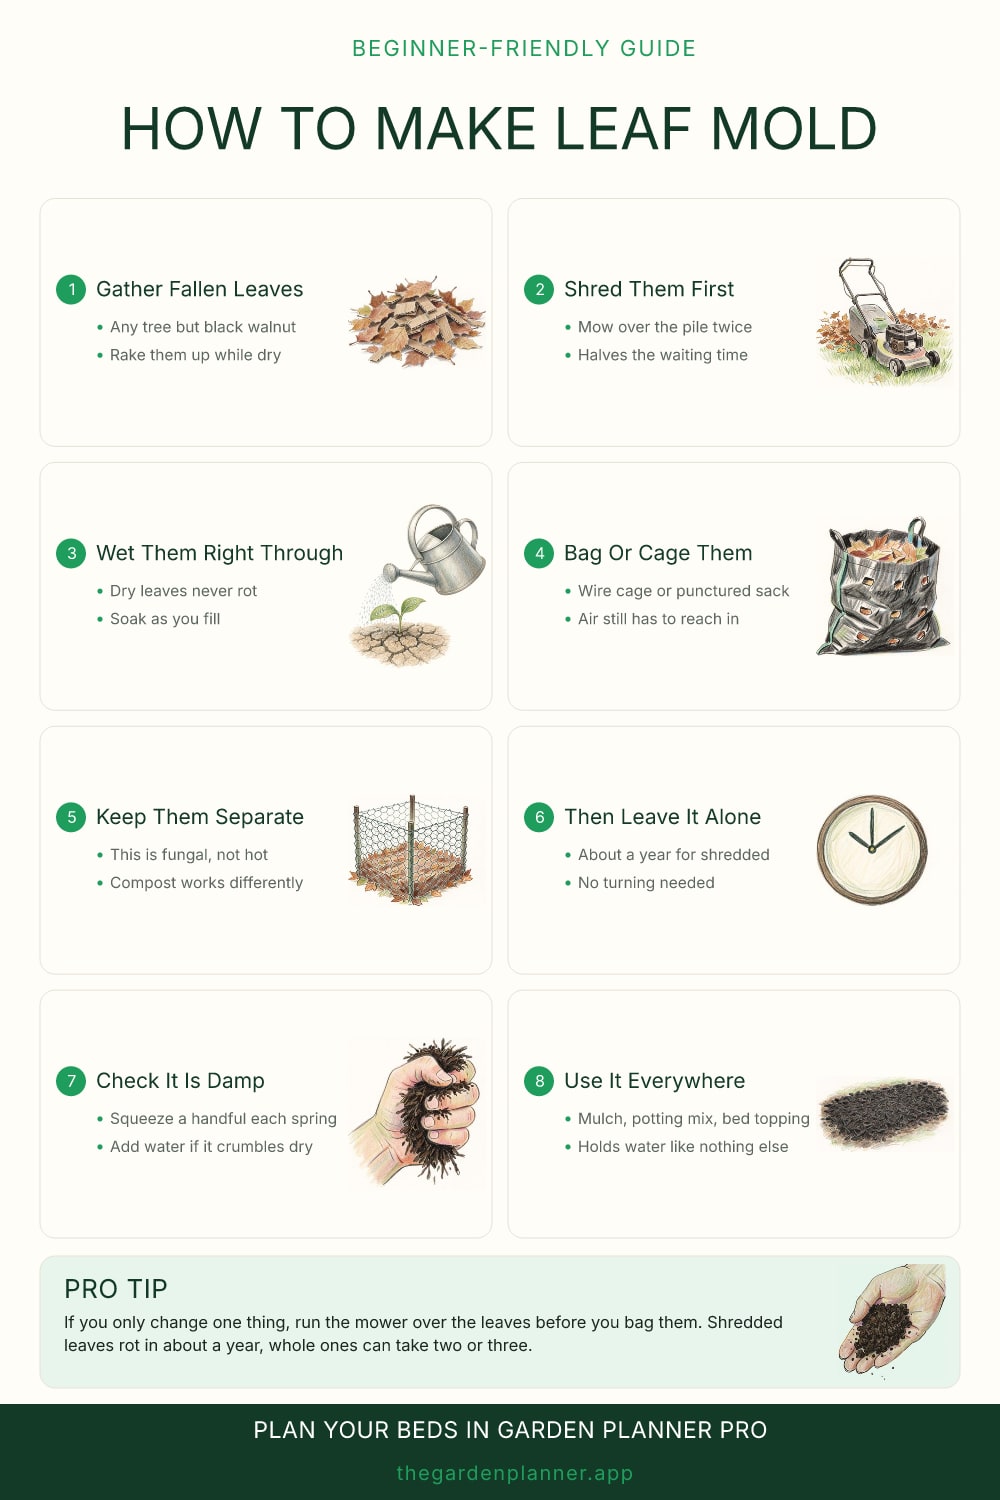
Leaf mold is the one soil improver that costs nothing, takes almost no work, and is better at the job than most of what you can buy. The catch is patience.
It is also not compost, and treating it like compost is why people give up on it.
Why it is a different process from the compost heap
A compost heap is bacterial and hot. You feed it a mix of green and brown material, it heats up, and in a few months you have something dark and crumbly full of nutrients.
Leaves do not do that. They are almost all carbon, so a pile of them will not heat up no matter how you stack it, and the thing that breaks them down is fungal rather than bacterial. Fungal decay is cold and slow and needs nothing from you but time and moisture.
So do not try to speed it up with nitrogen feeds or turn it every fortnight. Both are compost habits and neither helps here. Leaves in a heap of their own, wet, left alone, will get there on their own schedule.
The result is also different. Leaf mold is low in nutrients and will not feed a hungry crop. What it does, better than compost and far better than peat, is hold water and open up structure. A bed topped with it dries out noticeably slower in July.
The two things that actually decide how fast it goes
Shredding and water. Nothing else is close.
Whole leaves mat together into wet sheets that air cannot get through, and a pile of them can sit for two or three years. Run a mower over the pile a couple of times before you collect it and you roughly halve that, because you have multiplied the number of torn edges the fungi can start from. Ten minutes of mowing buys you a year.
Water is the other one, and the failure is always the same: a bag of dry leaves stays a bag of dry leaves indefinitely. Wet them as you fill the bag or cage, not afterwards, because once a mass of leaves is packed in it sheds water off the top rather than soaking through.
Which leaves you use matters less than people think. Oak, beech and sweet chestnut are tougher and slower because they are high in tannins, but they still get there. The one to leave out is black walnut, whose leaves carry juglone.
Where to put it while it waits
The cheapest container is four posts and a square of chicken wire, open to the rain. The easiest is a black plastic sack with a dozen holes stabbed in it with a fork, tied loosely and shoved behind the shed.
Either works. The holes matter in the bag version, because a sealed airless bag goes slimy and sour rather than crumbly. Leave the top loose.
Then do nothing for a year. Have a look the following autumn: shredded leaves should have gone dark, lost most of their leaf shape, and smell like a woodland floor. If they are still recognisable, wet them and give them another six months. Nothing is wrong.
What to do with it once it is ready
Half-rotted leaf mold, still a bit leafy, is an excellent mulch. Spread it two or three inches deep over beds in autumn and let the worms take it down.
Fully rotted, crumbly leaf mold is worth saving for seed sowing. Mixed about half and half with garden compost and a little grit it makes a good seed-starting mix, and it is the reason to keep a bag going every year rather than only when you remember.
The one place not to use it is as a feed. Something hungry in the middle of summer wants compost or a liquid feed, not leaf mold. Use it for what it is good at, which is holding water in a bed that would otherwise bake.
Pro tip. If you only change one thing, run the mower over the leaves before you bag them. Shredded leaves rot in about a year, whole ones can take two or three.