
How to Grow Shallots: A Beginner's Guide in 8 Steps
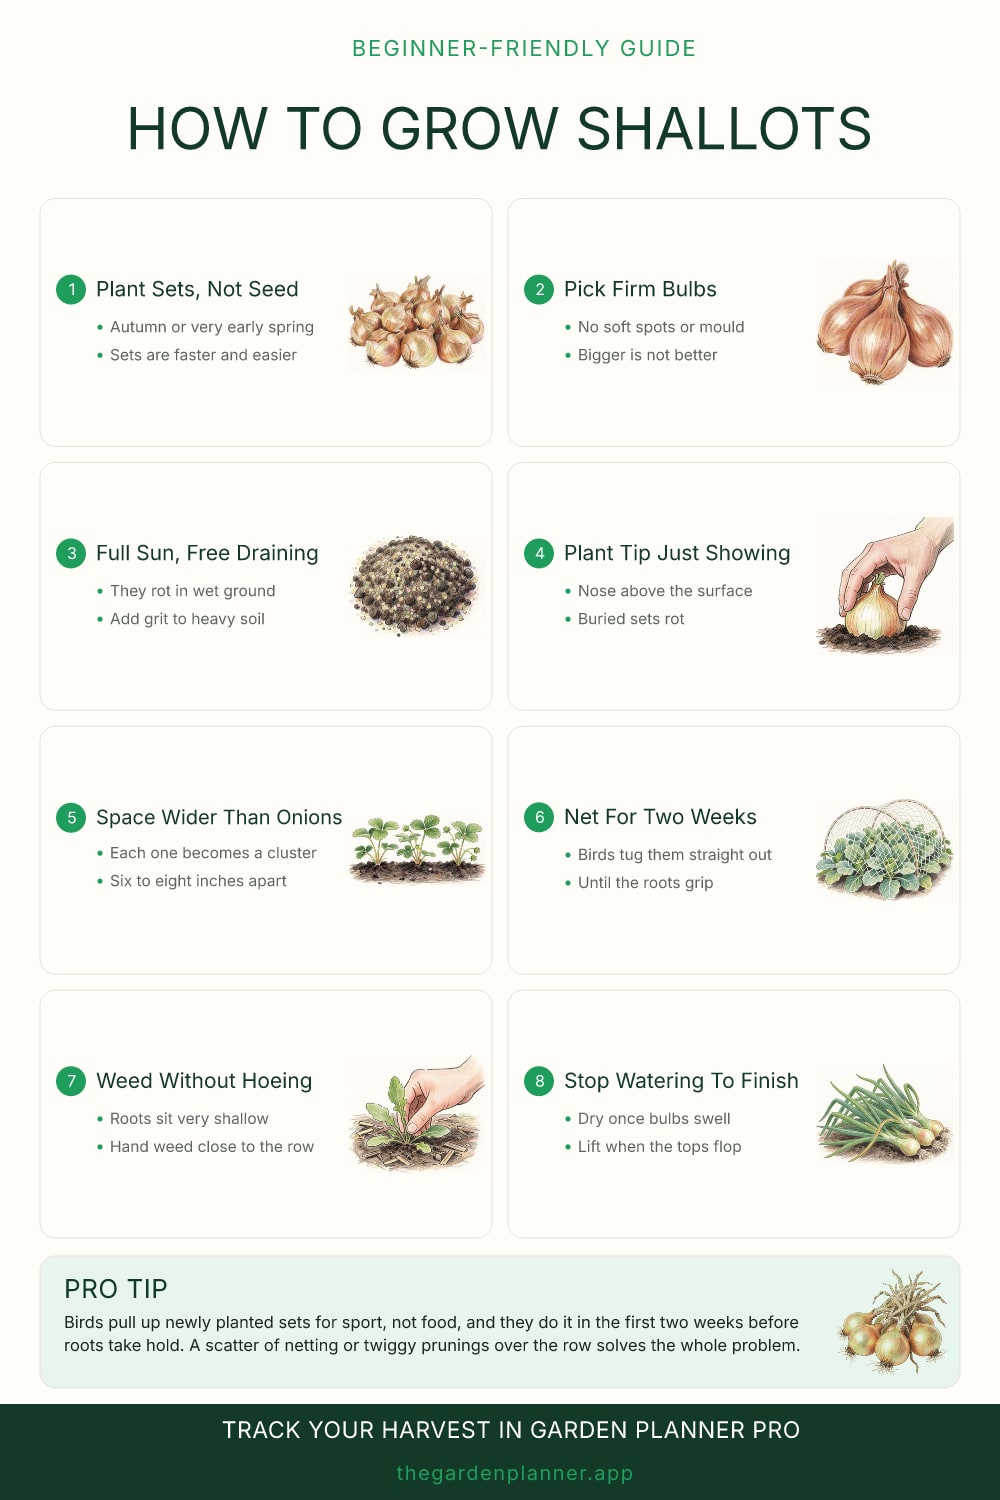
Shallots are the best value thing in the onion family and hardly anybody grows them. You push one small bulb into the ground and, months later, lift a cluster of six or eight.
They are also easier than onions, keep longer, and cost several times as much in a shop.
Sets, and when to put them in
Grow shallots from sets, which are small bulbs saved for planting, rather than from seed. Seed works but takes a full season longer and offers no advantage for a home garden.
There are two planting windows. Autumn planting, from about October, gives the biggest crop: the sets root through the cold months and are away the moment the soil warms. Early spring planting, as soon as the ground is workable, is the alternative and produces a smaller but perfectly good crop.
Autumn is the better bet on free-draining soil. On heavy ground that sits wet all winter, spring is safer, because a set that spends four months in cold mud rots rather than roots.
Choose firm bulbs with no soft patches, no mould and no green shoot already showing. Medium sets outperform very large ones, which are more likely to bolt and run to flower instead of dividing.
Planting, and the one detail people get wrong
Shallots want full sun and soil that drains. They will tolerate poor ground far better than wet ground. If your soil is heavy, work in grit and compost, or grow them in a raised bed.
Do not dig in fresh manure beforehand. Too much nitrogen gives soft leafy growth and bulbs that will not store, and the same goes for a heavy feed later in the season.
Push each set into loose soil so the pointed tip is just level with the surface or barely showing. That is the detail that matters. A set buried like a tulip bulb sits in damp soil and rots; a set left sitting on top is pulled out by the first bird.
Space them six to eight inches apart, which feels absurdly generous for something that small. It is correct. Each one is about to become a cluster of several bulbs, and crowded shallots are small shallots. Rows about a foot apart.
Then net the row, or lay twiggy prunings over it, for the first fortnight. Birds pull newly planted sets out of the ground almost as a habit, and until the roots take hold there is nothing to stop them.
Through the season
The main job is weeding, and the main risk is doing it carelessly. Shallot roots are shallow and fine and run out sideways, so a hoe driven in close to the row cuts them and checks the plant. Hand weed within a few inches of the bulbs and hoe only the middle of the paths.
Water in dry spells while the plants are growing leaves, since a dry check early gives you small bulbs. Feeding is rarely needed in decent soil.
If a flower stem appears, snap it out as low as you can. A bolted shallot will still be edible but will not store, so use those first.
As the bulbs swell and the clusters push up out of the soil, stop watering entirely and let the ground dry. This is the second decision that sets your crop, because bulbs that finish in wet ground store badly whatever you do afterwards.
Lifting and keeping them
They are ready when the leaves yellow and flop over, usually early to midsummer for an autumn planting. Do not bend the tops down by hand to hurry it along; it is an old habit and it damages the neck the bulb needs to seal.
Ease the clusters up with a fork rather than pulling on the leaves, separate them, and lay them somewhere warm, dry and airy for two or three weeks. A greenhouse bench, a porch, or a rack under cover if the weather is wet. They are cured when the skins rustle and the necks are papery and completely dry.
Stored properly in a cool dry place, in nets or plaited, shallots keep for months, usually well past the point where last year’s onions have gone. Save a dozen of the best firm medium bulbs for planting and you never need to buy sets again.
Pro tip. Birds pull up newly planted sets for sport, not food, and they do it in the first two weeks before roots take hold. A scatter of netting or twiggy prunings over the row solves the whole problem.