
How to Clean and Store Garden Tools: A Beginner's Guide in 8 Steps
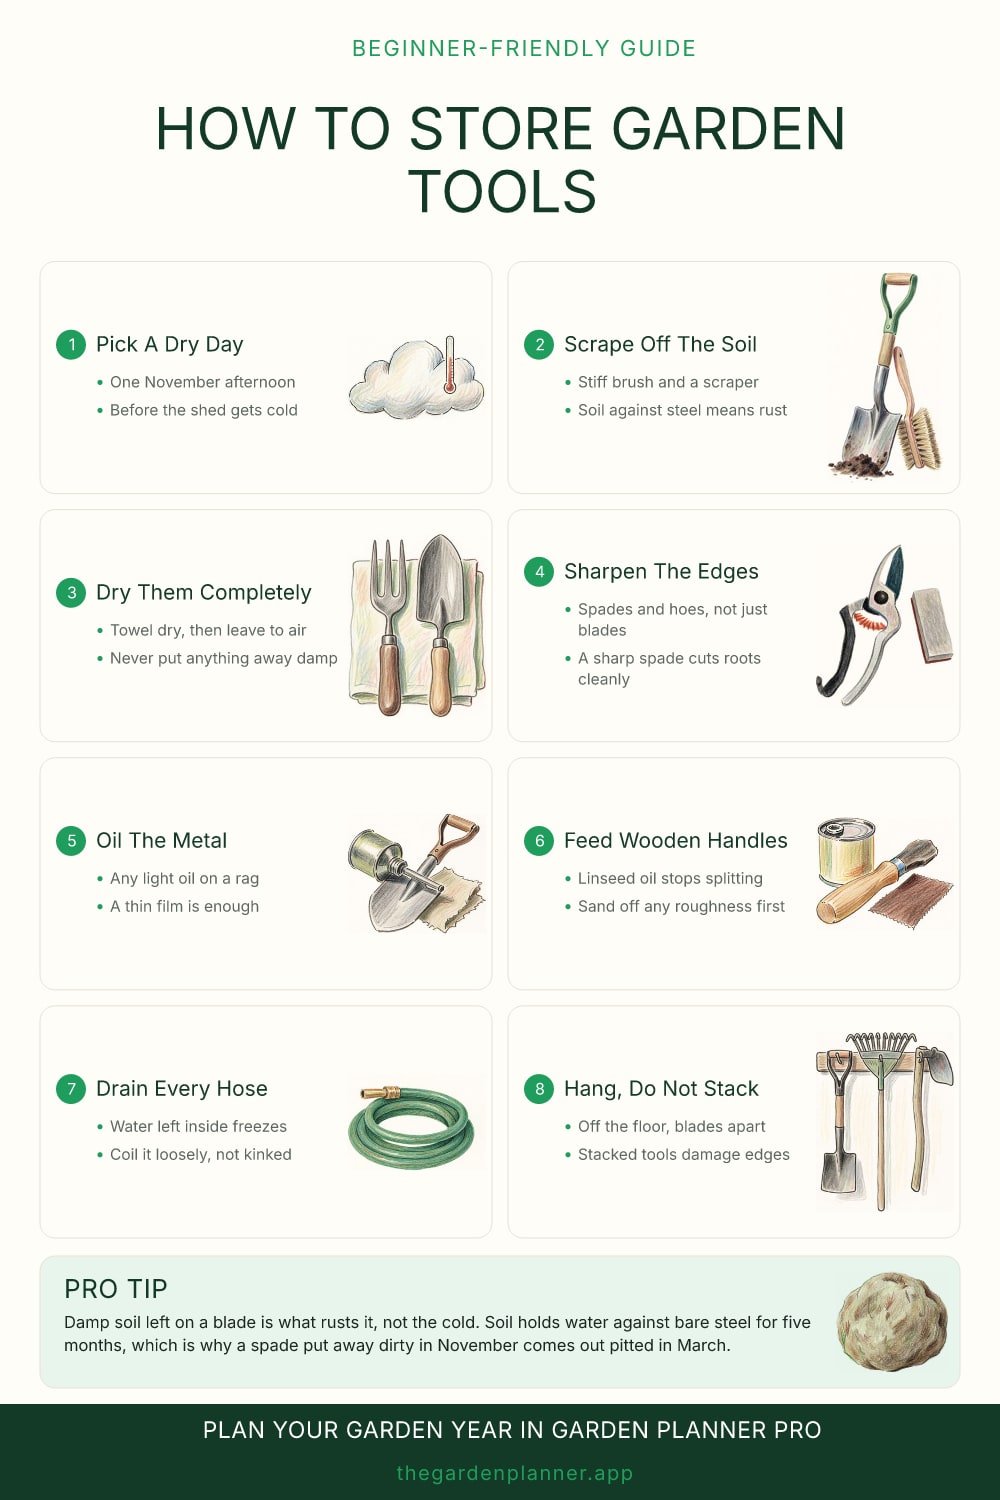
Tools do not wear out in a garden. They corrode in a shed, over five months, because somebody put them away with mud on them in November.
The whole job is one afternoon and it is the highest return on time of anything you do at this end of the year.
Clean and dry, which is most of it
Start by getting the soil off every metal surface. A stiff brush handles most of it, and a paint scraper or an old chisel deals with the caked layer on the back of a spade that has been sitting since summer.
The reason this matters is not tidiness. Soil holds moisture, and a layer of damp soil pressed against bare steel keeps that steel wet for months on end. That is what pits a blade over a winter, rather than the cold or the air.
If something is really filthy, wash it, but then dry it properly. Towel it off and leave it somewhere airy for an hour before it goes anywhere near a wall. Putting a washed tool straight back on its hook is worse than not washing it.
While you have each tool in your hands, look at it. A cracked handle, a loose head, a snapped tine: now is when you find those, not on the first warm Saturday in spring when you wanted to be digging.
Sharpening is not just for secateurs
A spade is a cutting tool. So is a hoe, and so is a trowel. All of them work better with an edge on them, and almost nobody sharpens them.
Use a flat file or a sharpening stone, and work along the bevel that is already there rather than inventing a new angle. A spade wants a fairly blunt edge, enough to slice a root rather than tear it. A hoe wants to be genuinely sharp, because a sharp hoe cuts weeds off at the surface while a blunt one drags them out and leaves you standing on the bed.
Secateurs and loppers are worth taking apart if they come apart, cleaning the sap off the blades with wire wool, and sharpening the bevelled face only. Leave the flat face flat.
Do not sharpen anything you are not confident about. A bad edge is worse than a dull one, and a blunt spade still digs.
Oil, and both kinds of it
Metal first. Wipe every steel surface with a rag carrying a little light oil. Anything works: boiled linseed, a general purpose machine oil, even a wipe of vegetable oil at a pinch. The point is a thin film between the steel and the air, and a thin film is enough. A dripping tool collects dust.
Then the handles, which is the part everyone skips. Bare wood that spends a winter in a damp shed goes grey, raises grain and eventually splits at the shoulder. Rub any roughness back with sandpaper and work in boiled linseed oil, then leave it to soak in overnight.
A handle treated once a year lasts decades, and a splintered handle is both unpleasant to use and how a tool gets thrown away.
Lay oily rags flat outdoors to dry before you bin them rather than leaving them balled up, since linseed-soaked cloth can heat as it cures.
Hoses, pots and how it all goes away
Water left in a hose freezes and splits it from the inside, so drain every hose completely, coil it loosely without kinks, and store it out of the frost. Disconnect and empty anything attached to an outdoor tap, and turn off the supply to that tap if you can.
Empty and stack pots, and scrub out anything you will sow into next spring while the weather is still tolerable. Wash seed trays now and they are ready in February; leave them and February is when you are standing at an outdoor tap in the cold.
Then hang the tools up, off the floor, with blades not touching each other. A concrete floor wicks damp straight into a wooden handle, and tools thrown into a pile knock the edges you just put on them. Hooks on a wall cost very little and are the difference between finding a trowel in April and buying another one.
Pro tip. Damp soil left on a blade is what rusts it, not the cold. Soil holds water against bare steel for five months, which is why a spade put away dirty in November comes out pitted in March.