
How to Store Winter Squash: A Beginner's Guide in 8 Steps
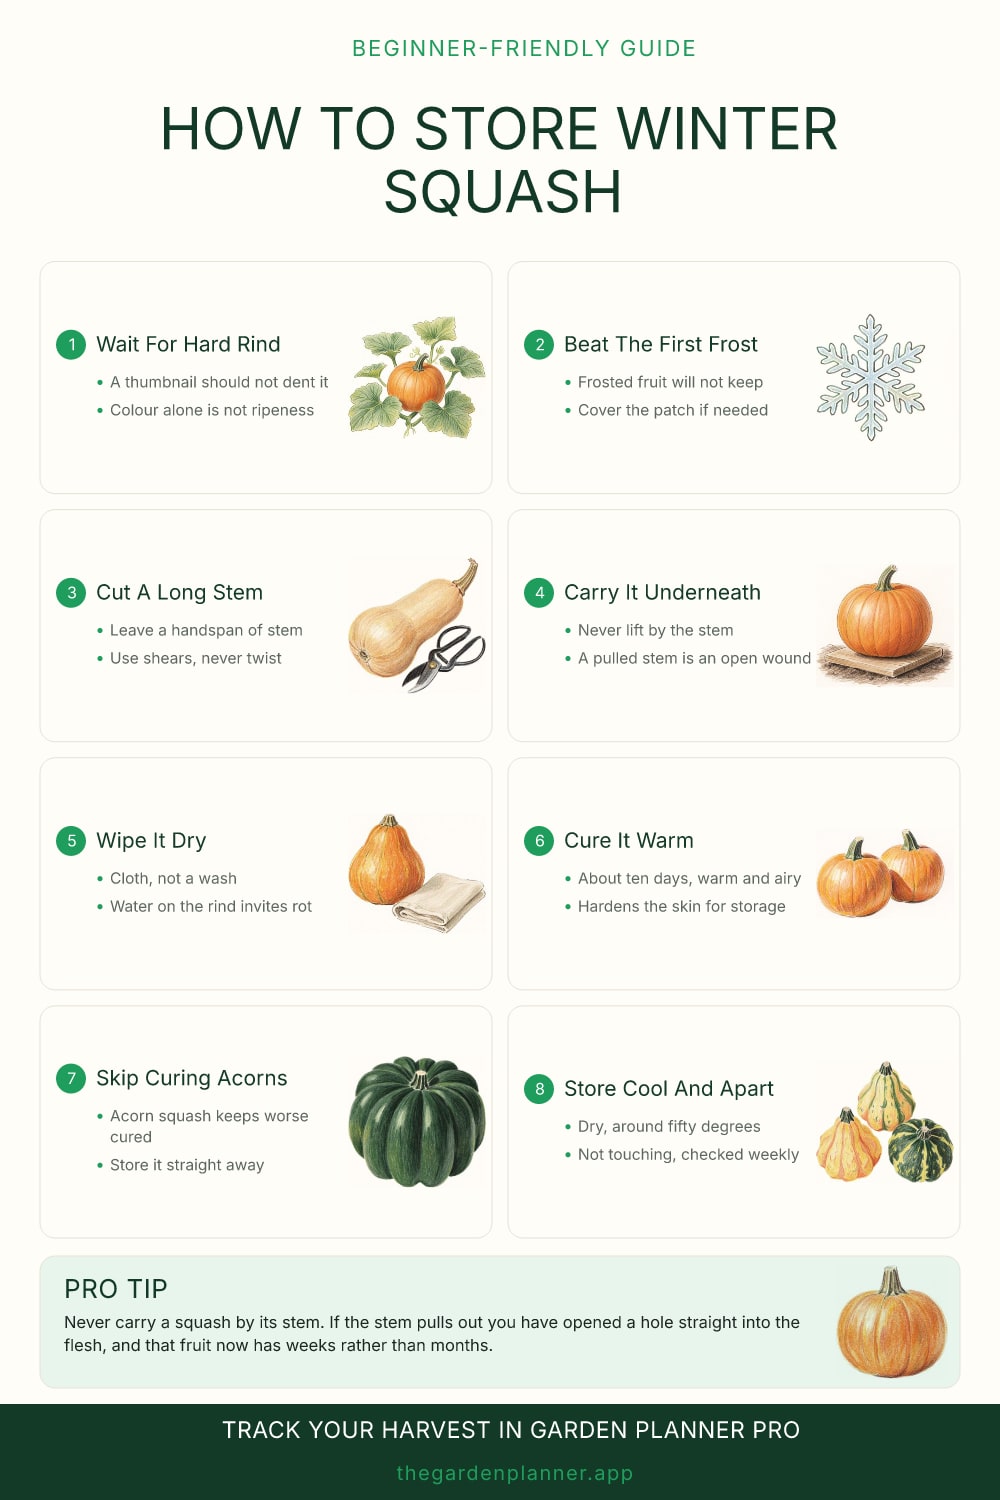
Winter squash is one of the few crops that genuinely keeps for months without a freezer, a jar or any processing at all. Most of what decides whether yours does happens in the two weeks around harvest.
And one popular type wants the opposite treatment from all the others.
Knowing when it is actually ready
Colour is the thing everyone goes by and it is the least reliable signal. A butternut turns tan long before it is ready to store, and plenty of varieties colour up weeks early.
The test that works is the rind. Press a thumbnail into it firmly somewhere inconspicuous. On a ripe squash it will not dent, and your nail slides off a surface that feels more like wood than vegetable. If it marks, the fruit needs longer on the vine.
Two other signs back it up: the stem where it meets the fruit goes dry, corky and pale, and the tendril nearest the fruit has usually browned off. The vine itself often looks dreadful by then, which worries people unnecessarily.
The deadline is the first real frost. A light frost on the leaves is survivable, but frost on the fruit damages the flesh under the rind and the squash will rot in storage rather than keeping. If a frost is forecast and the rinds are close, throw a blanket over the patch for the night rather than harvesting everything unripe.
Handling, which matters more than it sounds
Cut each fruit with shears or a knife, leaving a generous handspan of stem attached. Do not twist it off the vine.
That stem is a seal. Where it joins the fruit there is a small opening, and while the stem is intact and dry it plugs it. Pull the stem out and you have left an open wound in the top of the squash that mould finds within days. This is the single most common reason a stored squash fails early, and it usually happens at the moment of carrying it indoors.
So carry each one with a hand underneath, like a bowl, and never by the handle you just carefully left on. Set them down rather than dropping them, since a bruise you cannot see becomes a soft patch in November.
Wipe the dirt off with a dry cloth. If a fruit is genuinely muddy, a cloth barely damp with water is fine, but dry it straight afterwards. Do not wash and stack wet squash.
Curing, and the exception
Curing means keeping the harvested fruit somewhere warm and airy for about ten days. The skin hardens, small scratches seal over, and the flesh sweetens as starches convert. A sunny porch, a warm shed, or a spare room works; single layer, not touching, with air moving round them.
Acorn squash is the exception, and it is worth knowing because it is widely grown. Acorns do not improve with curing. Warm storage makes them stringy and shortens how long they keep, so take them straight from the garden into cool storage. The same caution applies to delicata and most other thin-skinned types, which are short keepers whatever you do and are best eaten first.
Everything thick-skinned wants curing: butternut, hubbard, kabocha, spaghetti squash, pumpkins for pie.
Where they spend the winter
Cool, dry, dark and airy. Somewhere around fifty degrees is the target, which in most houses means a spare bedroom, a landing, or an unheated hallway rather than a cellar, because damp is more of a problem than warmth.
Do not put them in the fridge, do not put them in a sealed box, and do not stack them in a crate. Lay them out in a single layer on a shelf or a piece of cardboard with a gap between each one, so that a fruit that starts to go does not take its neighbours with it.
Walk past them once a week and look. Any softening, any damp patch, any smell, and that one comes out and gets eaten or cut up that evening. Done properly, a butternut will still be sound the following spring, and a hubbard longer than that.
Pro tip. Never carry a squash by its stem. If the stem pulls out you have opened a hole straight into the flesh, and that fruit now has weeks rather than months.